Posted on

Ebay Listing

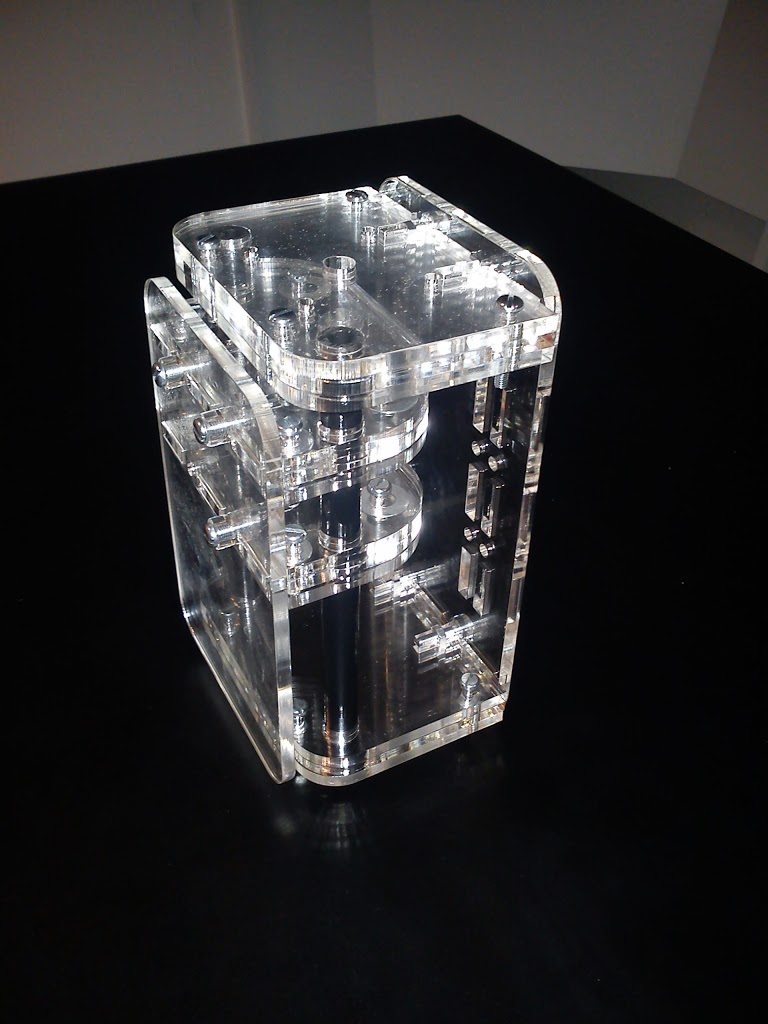
We have finally got round to starting to add some products to ebay, all laser cut of course. Ebay shop. So far we have quite a few home decor items which are great but the most interesting item is a Breadboard Component Holder.

More after the break


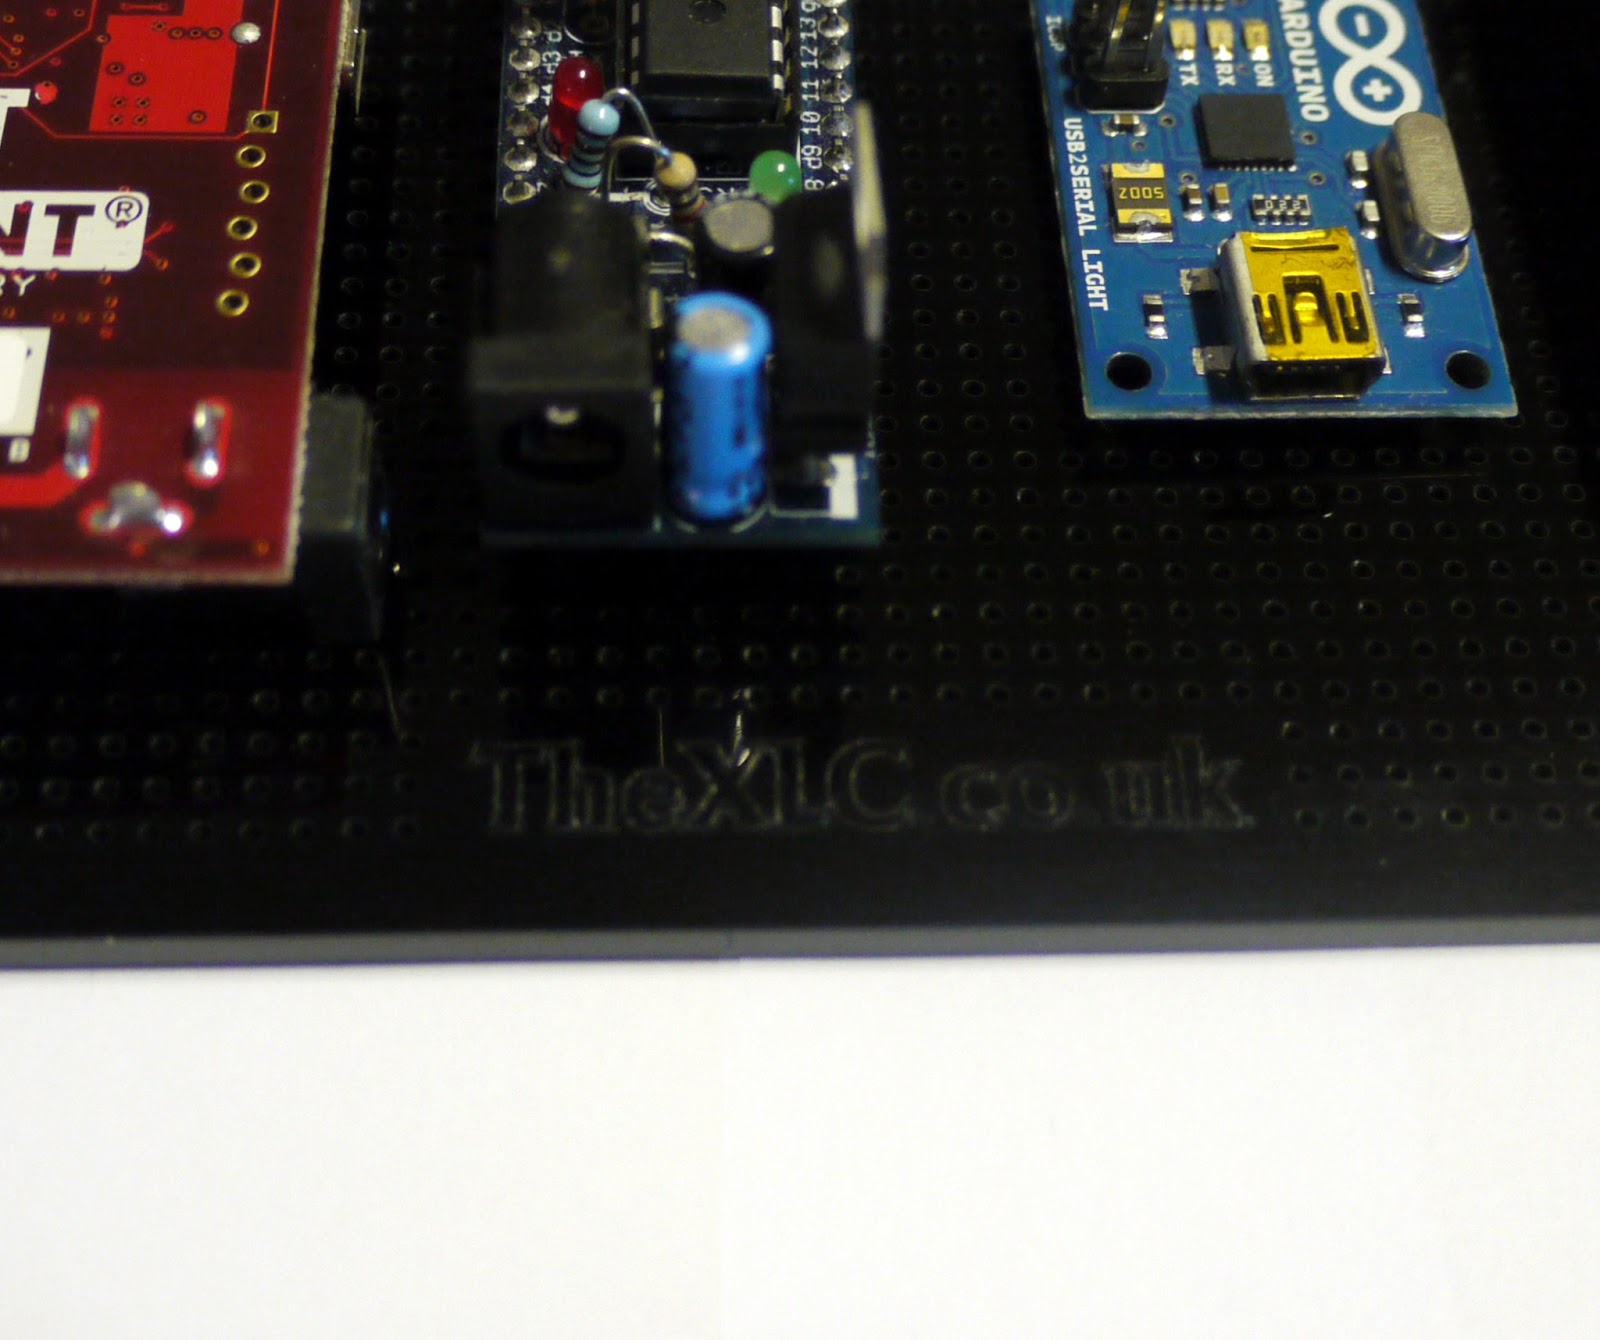
After getting fed up of bent pins on our breadboard compatible components (being of the “stick it in the box/drawer” school of tidy) we decided to come up with something that we could use to store these items. We now have a few of these on walls and desks and in one case on the side of a PC!

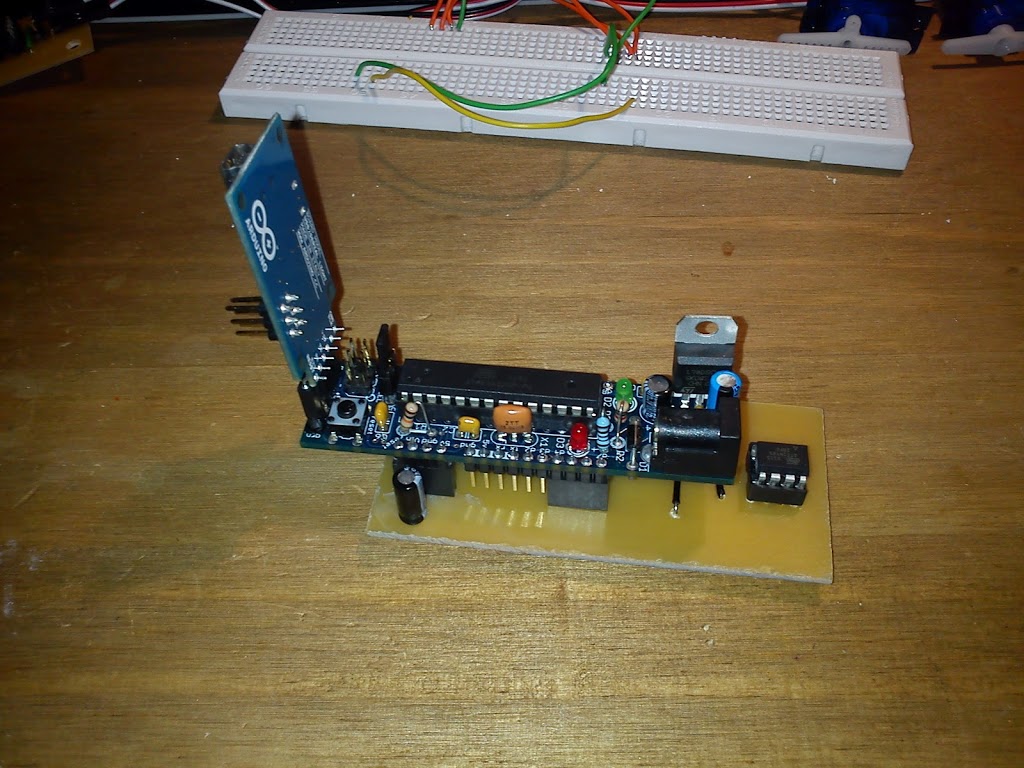
With a couple of male headers we can use them to store dev boards like the Stellaris Launchpad, Chipkit and of course Arduino!


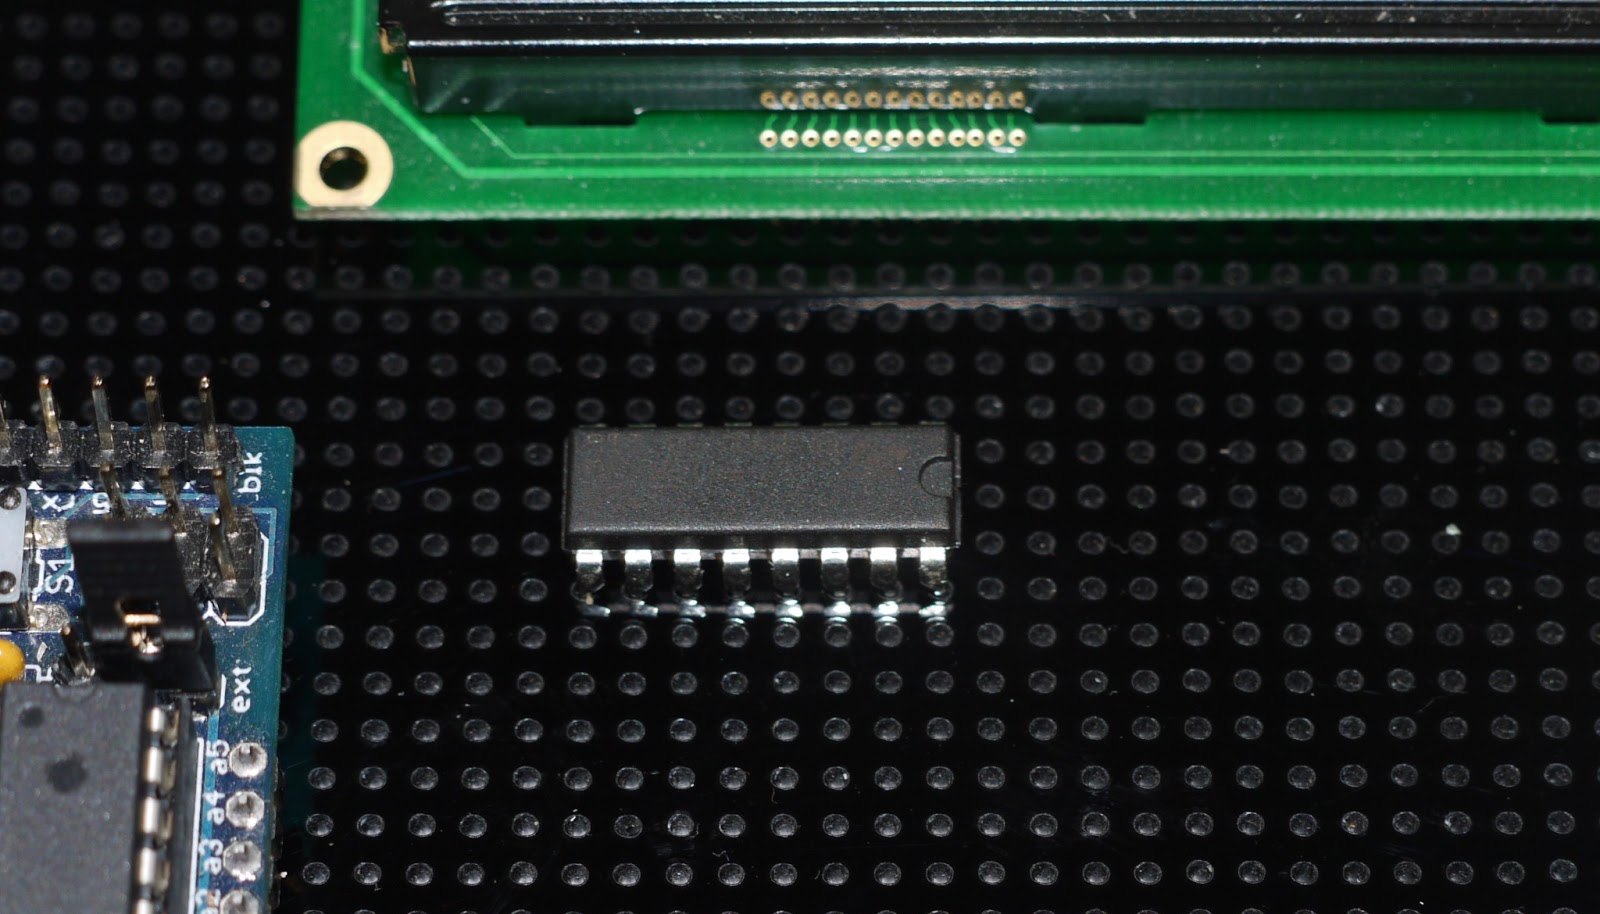
We even use them to store ICs like this L293D Motor Driver


Only problem we have is that it takes quite a while to laser drill the six thousand two hundred and nine holes!


You can get one here – Breadboard Component Holder

Posted on

Z Axis Prototype

Following on from the GRBL on a Boarduino post earlier we have started on the machine to attach it to!

After considering all sorts of options including a selective laser sintering 3D printer we have decided to start with a standard CNC Router with a bed of 1×0.5m. With this we will be able to cut, amongst other items, large model aircraft parts from carbon fibre sheet which we have had a number of requests for.

We have built the first prototype for the z axis and have already scrapped it for a lower friction, stiffer, longer travel version!

Images below:


The Clear acrylic may be a permanent feature – it gives it a nice 1970’s “Science Of The Future!!!!” look.
Posted on

Boarduino ATTiny Programmer

We have been doing a lot of ATTiny programming recently and decided to simplify the process by making a board to plug everything in to rather than breadboarding it every time.


Rather than perf board we decided to make up a Laser masked PCB board  to take a boarduino, ATTiny and reset overide capacitor. More after the break:


A comprehensive overview of the setup can be found here http://hlt.media.mit.edu/?p=1695.


We did have a couple of problems getting everything to compile and had to manually install winavr, modify our ATTiny libraries and modify softwareserial. Most of this is due to using windows and upgrading from arduino versions 0023 to 1.0 half way through a project! oops.


The new setup is much more a plug and play solution rather than trying to set up a breadboard each time and we minimised the copper removed from the board which will save our etchant and looks nicer on the board!


Below is the board graphic as a bitmap for running through the laser. This is different to the board above in that it actually works, unlike version 1!

EDIT: I have discovered that Arduino 1.0 will not programme the ArduinoISP sketch correctly onto the boarduino. I have to load this using Arduino 0022 or 0023. I can then use 1.0 to programme the AtTiny – Chris.

Posted on

grbl, Windows XP and Boarduino

A quick note / tutorial to help anyone trying to find out the same information that I was!


I am looking to set up a CNC system and have chosen to go down the grbl route and use a boarduino. The first hurdle of getting grbl on to the boarduino using the hardware I have on my desk. A lot of sites made this sound a lot harder than it was in the talking about AVR programmers and all sorts


EDIT: The hex file supplied below has an error – the motor drive pin doesn’t work. I have created a new HEX file which I will upload when I have tested it.


I have provided a summary after the jump:


OS – Windows XP, this would probably have been a lot easier with linux!


grbl – I used the hex file from here – https://github.com/downloads/synthetos/grblShield/grbl-latest.hex


Upload to boarduino – xloader available from – http://russemotto.com/xloader/ (ArduinoUploader didn’t work for me)


Communicate with the board – G-Code sender – https://github.com/OttoHermansson/GcodeSender/downloads


I am assuming that you have your boarduino assembled, tested and are set up to send stuff to it via a usb to serial cable or similair, I use the Arduino USB2Serial Light board (more info on the boarduino – http://www.oomlout.co.uk/index.php?main_page=product_info&products_id=234 or http://www.adafruit.com/products/72).


1) Download everything and unzip the files.


2) Open  Xloader


3) Select your hex file


4) Set device to Duemilanove/Nano(ATmega328)


5) Set appropriate COM port


6) Hit upload


7) Open G-Code sender


8) Under serial select appropriate COM port


9) Press open


10) Under command type $ and hit return


11) you should get something similair to the following:


To change a setting, for example to set steps/mm x to 200, type $0=200.


Please be aware that this is untested other than serial communication – I have no idea yet if there are any problems further down the line.


Hopefully this will save someone else from having to trawl the internet for hours with many failed attempts!


Now all I have to do is build some sort of CNC machine to attach it to…