Posted on

DHT Sensor for Gary

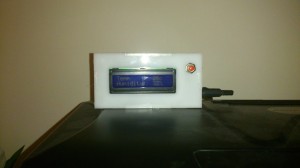
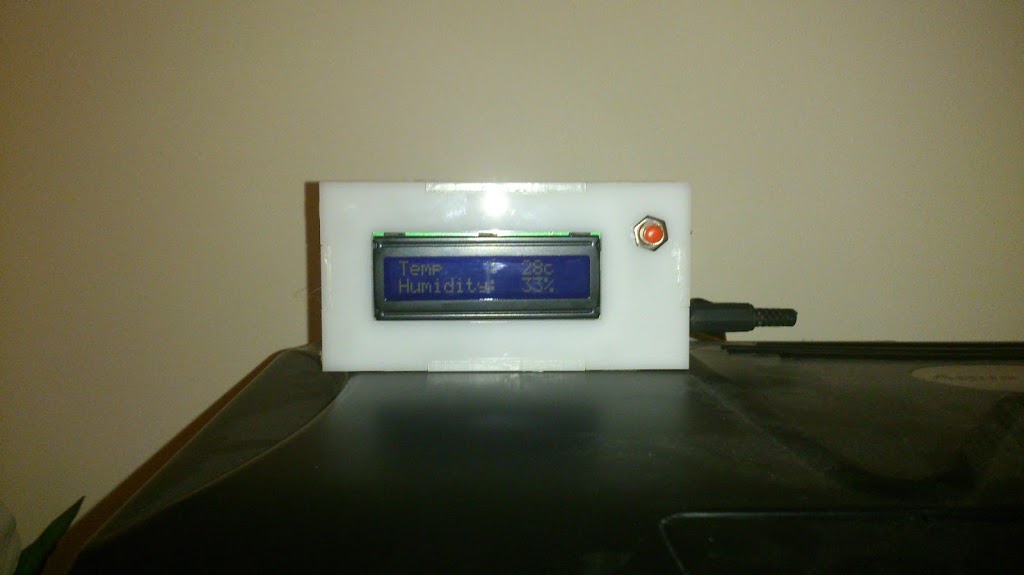
Gary the gecko gets a bit funny about his environment so we have to keep an eye on his temperature and humidity. We could have gone a purchased one but that would have been too easy! One ATMega328, home brewed PCB, LCD screen, DHT11 sensor and a laser cut case and we are away!
Not many notes on this one as the PCB creation was experimental and I will be writing it up fully later.
Anyway, here are some pictures.
More pics:

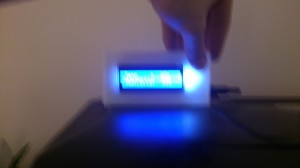
The button is so it doesn’t burn power with the backlight
Like this
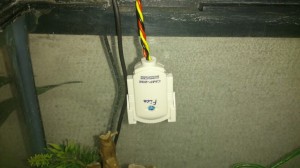
Sensor in an old mic housing.
Gary
Gary
Code if you want it, un-tidied and barely changed from Adafruits code. You will want the library on the tutorial as well.
**************************************************
 // Example testing sketch for various DHT humidity/temperature sensors

// Written by ladyada, public domain

#include “DHT.h”
#define DHTPIN 13     // what pin we’re connected to
#include <LiquidCrystal.h>
LiquidCrystal lcd(5,6,7,8,9,10);
#define DHTTYPE DHT11   // DHT 11
// Connect pin 1 (on the left) of the sensor to +5V
// Connect pin 2 of the sensor to whatever your DHTPIN is
// Connect pin 4 (on the right) of the sensor to GROUND
// Connect a 10K resistor from pin 2 (data) to pin 1 (power) of the sensor

DHT dht(DHTPIN, DHTTYPE);

void setup() {
  lcd.begin(16, 2);
  lcd.clear();
  Serial.begin(9600);
  Serial.println(“DHTxx test!”);
  lcd.print(“Starting…”);
  dht.begin();
  delay(500);
}

void loop() {
  // Reading temperature or humidity takes about 250 milliseconds!
  // Sensor readings may also be up to 2 seconds ‘old’ (its a very slow sensor)
  int h = dht.readHumidity();
  int t = dht.readTemperature();

  // check if returns are valid, if they are NaN (not a number) then something went wrong!
  if (isnan(t) || isnan(h)) {
    Serial.println(“Failed to read from DHT”);
  }
  else {
    Serial.print(“Humidity: “);
    Serial.print(h);
    Serial.print(” %t”);
    Serial.print(“Temperature: “);
    Serial.print(t);
    Serial.println(” *C”);
  }

  //LCD Display
  lcd.clear();
  lcd.setCursor(0, 0);
  lcd.print(“Temp    : “);
  lcd.setCursor(11, 0);
  lcd.print(t);
  lcd.setCursor(13, 0);
  lcd.print(“c”);
  lcd.setCursor(0, 1);
  lcd.print(“Humidity: “);
  lcd.setCursor(11, 1);
  lcd.print(h);
  lcd.setCursor(13, 1);
  lcd.print(“%”);
  delay(1000);
}

*****************************************
Posted on

USB Microscope

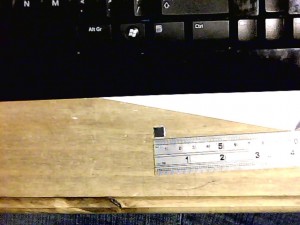
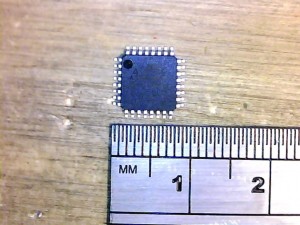
We were lucky enough to be given a USB microscope this christmas so decided to try it out by soldering some Atmega8A in a TQFP32 package that we got REALLY cheap from China. We etched a breakout board using the vinyl on paper – laser print – heat transfer technique (we will write a post up about that later) and prepared to solder.

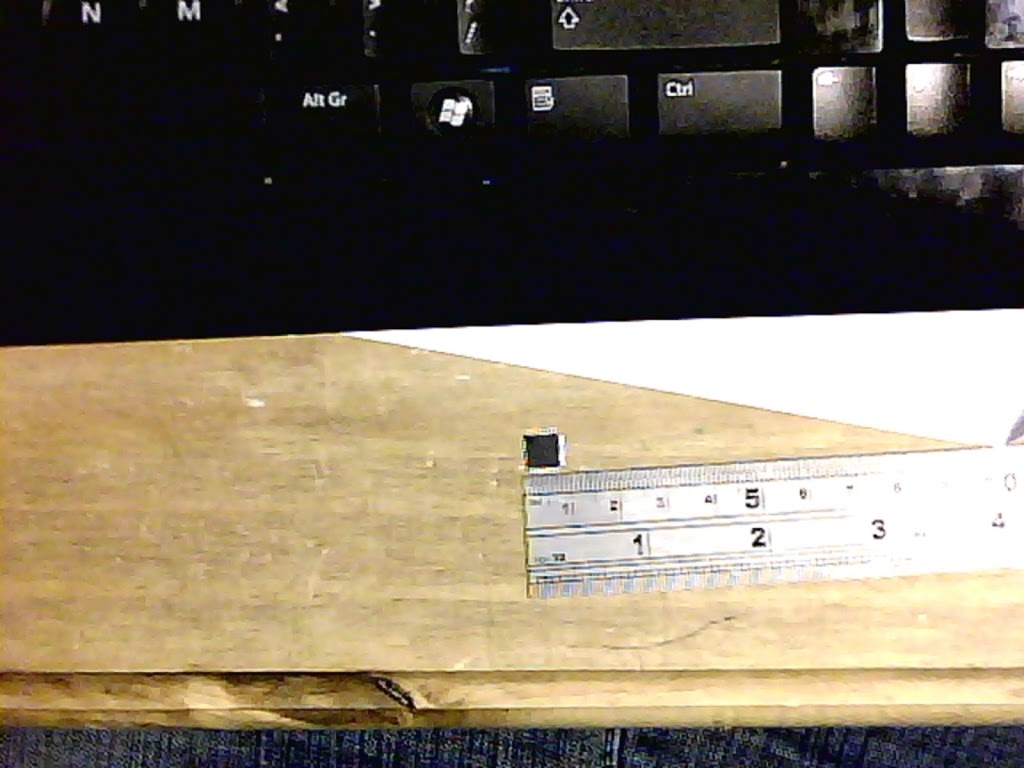
We realised they were small but hadn’t realised HOW small!


More after the break


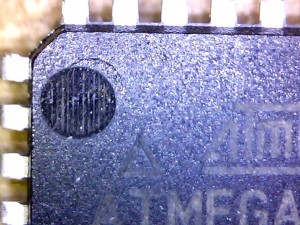
Luckily we could get far closer than we will ever need to solder.


 The microscope can also record video – below is our first attempt at soldering this size package. So far everything seems to have been successful!


Not the most thrilling video in the world but it works!