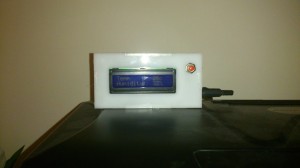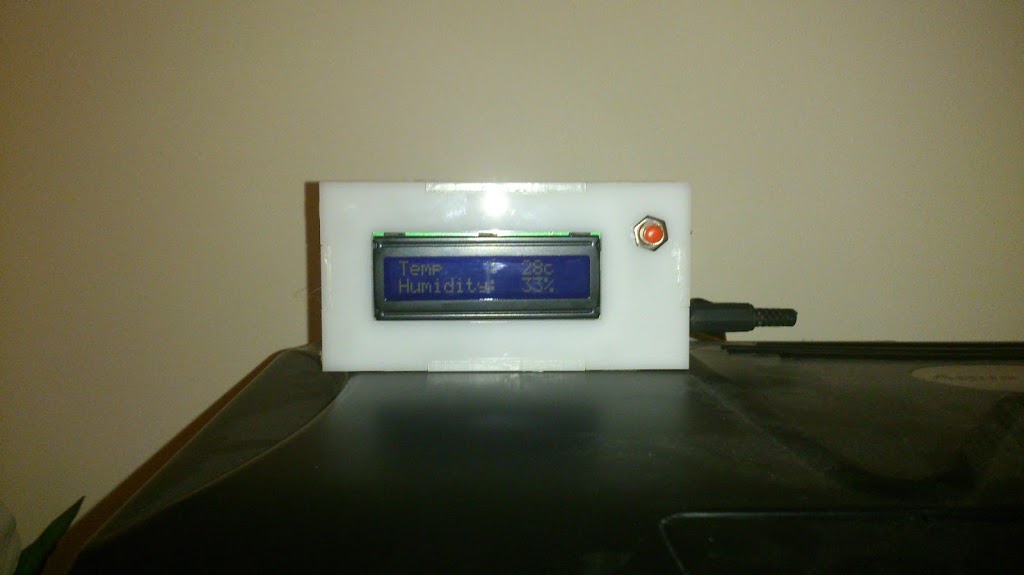
Gary the gecko gets a bit funny about his environment so we have to keep an eye on his temperature and humidity. We could have gone a purchased one but that would have been too easy! One ATMega328, home brewed PCB, LCD screen, DHT11 sensor and a laser cut case and we are away!
Not many notes on this one as the PCB creation was experimental and I will be writing it up fully later.
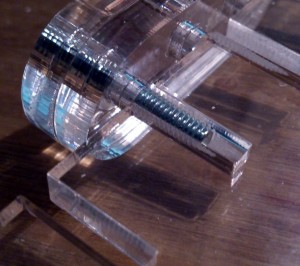
Anyway, here are some pictures.
More pics:
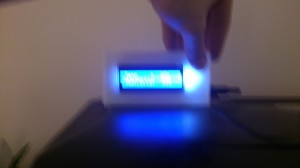
The button is so it doesn’t burn power with the backlight
Like this
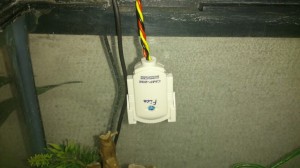
Sensor in an old mic housing.
Gary
Gary
Code if you want it, un-tidied and barely changed from
Adafruits code. You will want the library on the tutorial as well.
**************************************************
// Example testing sketch for various DHT humidity/temperature sensors
// Written by ladyada, public domain
#include “DHT.h”
#define DHTPIN 13 // what pin we’re connected to
#include <LiquidCrystal.h>
LiquidCrystal lcd(5,6,7,8,9,10);
#define DHTTYPE DHT11 // DHT 11
// Connect pin 1 (on the left) of the sensor to +5V
// Connect pin 2 of the sensor to whatever your DHTPIN is
// Connect pin 4 (on the right) of the sensor to GROUND
// Connect a 10K resistor from pin 2 (data) to pin 1 (power) of the sensor
DHT dht(DHTPIN, DHTTYPE);
void setup() {
lcd.begin(16, 2);
lcd.clear();
Serial.begin(9600);
Serial.println(“DHTxx test!”);
lcd.print(“Starting…”);
dht.begin();
delay(500);
}
void loop() {
// Reading temperature or humidity takes about 250 milliseconds!
// Sensor readings may also be up to 2 seconds ‘old’ (its a very slow sensor)
int h = dht.readHumidity();
int t = dht.readTemperature();
// check if returns are valid, if they are NaN (not a number) then something went wrong!
if (isnan(t) || isnan(h)) {
Serial.println(“Failed to read from DHT”);
}
else {
Serial.print(“Humidity: “);
Serial.print(h);
Serial.print(” %t”);
Serial.print(“Temperature: “);
Serial.print(t);
Serial.println(” *C”);
}
//LCD Display
lcd.clear();
lcd.setCursor(0, 0);
lcd.print(“Temp : “);
lcd.setCursor(11, 0);
lcd.print(t);
lcd.setCursor(13, 0);
lcd.print(“c”);
lcd.setCursor(0, 1);
lcd.print(“Humidity: “);
lcd.setCursor(11, 1);
lcd.print(h);
lcd.setCursor(13, 1);
lcd.print(“%”);
delay(1000);
}
*****************************************


